Confession time: I used to think training an image classifier was sorcery meant for PhDs with NASA-level laptops. That was before I set myself a challenge—finish a small project in machine learning, cap it at 100 lines of code, and see if I could make something actually work. Spoiler: The process was way less intimidating (and weirder) than I expected. If you’ve ever wondered how computers learn to spot cats in pictures or why so many AI demos involve bananas, this guide is for you.
Why Only 100 Lines?—Constraints Spark Creativity
When I set out to write this Beginner Tutorial on image classification, I gave myself a strict rule: no more than 100 lines of code. At first, it sounded like a gimmick. But this self-imposed limit became the most powerful tool in my Classification Guide. Why? Because constraints force you to focus, learn, and create in ways you never expect.
Let me share a quick story. My first attempt at building an image classifier was, frankly, a mess. I copied bits from open-source tutorials, added “just one more” feature, and before I knew it, my codebase was a tangled jungle. Debugging was a nightmare, and I barely understood what each part did. So, I scrapped everything and started over, determined to fit the whole project into 100 lines. Suddenly, every line mattered. I had to decide what was truly essential to image classification—and what was just noise.
This constraint did more than just tidy up my code. It cut through the analysis paralysis that plagues so many machine learning beginners. With a hard limit, I couldn’t endlessly tweak or overthink. I had to build a minimum viable model, which made each step in the process clear and manageable. Debugging became almost enjoyable, since there were fewer places for bugs to hide.
Clarity: Limiting code length keeps things simple for beginners.
Focus: Constraints highlight the core steps of any Classification Guide.
Retention: Research shows we learn better when forced to make tough choices.
Many tutorials sprawl into confusion, but a 100-line cap brings sharpness and confidence. In image classification, less really can be more—especially when you’re just starting out.
Data Preparation: Herding Cats (and Dogs, and Bananas)
Let’s talk about the unsung hero of image classification: dataset preparation. Before I wrote a single line of code, I needed a training dataset. But here’s the surprise—training images don’t have to number in the thousands. I started with just 40 images (20 per class), and with smart data preprocessing and augmentation, I reached up to 94% accuracy. That’s right: a small, well-augmented dataset can work wonders for custom image classifiers.
What’s in a Dataset?
My first step was scrounging up images of cats, dogs, and, for fun, bananas. Don’t overthink it—phone photos, web downloads, or even doodles can work. The key is variety: different angles, lighting, and backgrounds. Even with just 20 images per class, diversity matters more than quantity.
Data Preprocessing: The Documentary Nobody Wants
Once collected, every image went through a data preprocessing bootcamp:
Resizing – Standardizing image size (like 128x128 pixels) keeps the training process smooth.
Normalizing – Scaling pixel values (usually between 0 and 1) helps the model learn faster.
Augmenting – I “flipped” images horizontally, rotated them, and tweaked brightness. This multiplies my dataset without new photos.
Splitting the Dataset
It’s tempting to throw all images into training, but I always split them into training, validation, and test sets. Skipping this is a classic beginner mistake—without it, you can’t trust your accuracy numbers.
Wild Card: Imaginary Lemon Detector
If I wanted to train a classifier to spot weird lemons, I’d gather photos of lemons in all shapes, colors, and settings. The more “weird” examples, the better the classifier would learn. It’s all about capturing the quirks in your training dataset.
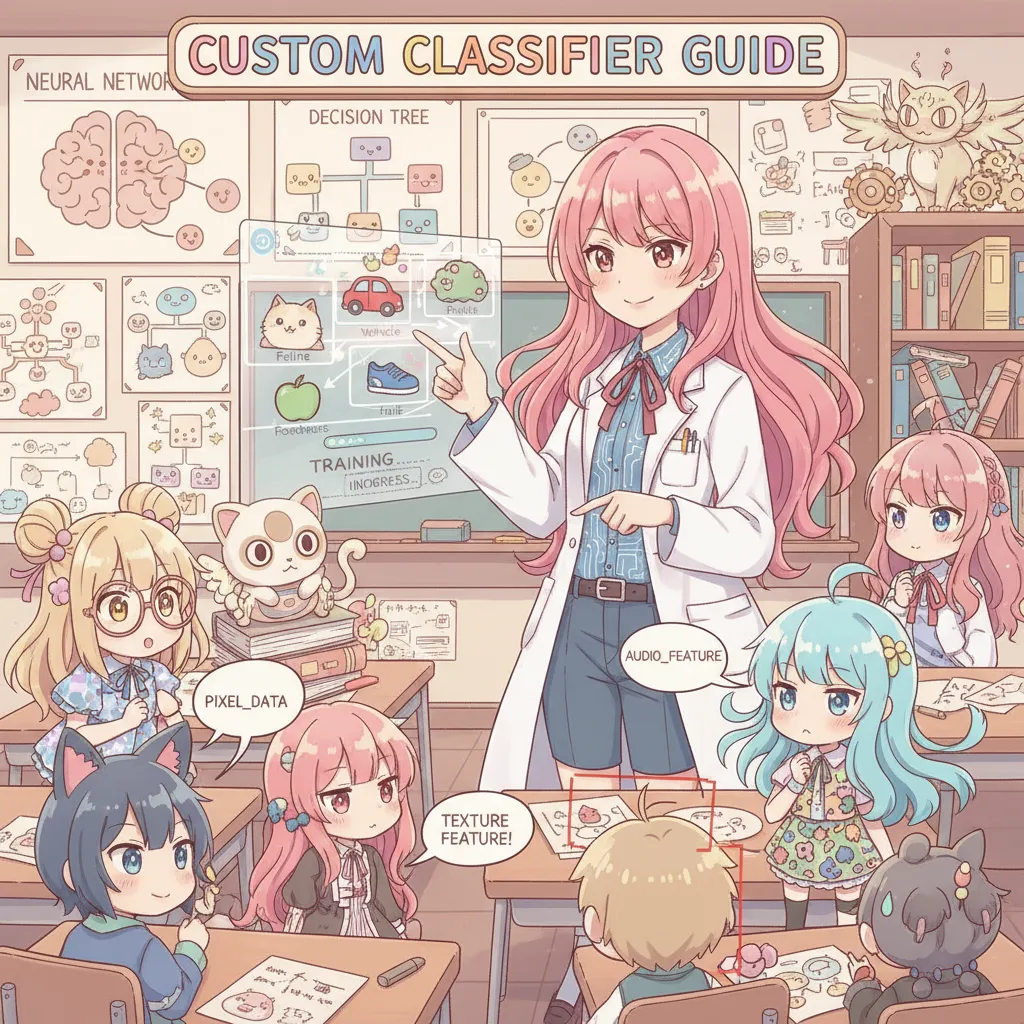
Model in a Nutshell: The Simplest (Useful) Neural Network That Works
Let’s cut through the jargon: when it comes to image classification, a Convolutional Neural Network (CNN) is your best friend. CNNs are the backbone of most practical image classifiers, and the good news is, you don’t need a PhD or a supercomputer to build a useful one. For small classification tasks, a simple neural network model—just a few convolution and pooling layers—can work wonders.
Here’s the basic recipe I use for a custom classifier:
Convolutional layers: These act as the eyes of your model, scanning the image for patterns like edges and shapes.
Pooling layers: They help the model focus on the most important features and reduce the size of the data, making training faster.
Fully connected (Dense) layer: This is where the model decides which class your image belongs to—your classes, not someone else’s.
When I say “custom classifier,” I simply mean a model trained to recognize your categories—be it cats, cars, or coffee mugs. No need for fancy terms or dog-breeding expertise. In fact, for fun and easier debugging, I once named my convolutional layers after my pets (shoutout to Pixel and Whiskers!).
Frameworks like TensorFlow and PyTorch make it possible to build and train this neural network model in under 100 lines of code. If you want to skip the architecture headaches, transfer learning lets you use a pre-trained CNN and just tweak the last layer for your classes. But even a basic CNN, built from scratch, can deliver impressive results for most beginner projects.
The Training Dance: Running, Failing, Laughing, Tweaking
Let’s be honest: hitting ‘train’ on your first image classifier is a wild ride. The model training process is less a straight sprint and more a clumsy dance—full of missteps, guesses, and unexpected hilarity. The first time my model confidently labeled a cat as a “toaster,” I couldn’t help but laugh. These early, laughably wrong predictions are a rite of passage. They’re not failures—they’re proof that your model is learning, even if it’s learning to be wrong at first.
Here’s what really happens during the training process:
Running: You start the model training, and the numbers begin to roll in. Don’t expect instant magic—early accuracy is often low, and that’s normal.
Failing: The model stumbles, making wild guesses. This is where you’ll see dogs classified as toasters or airplanes as apples. Embrace these moments—they’re crucial for growth.
Laughing: I secretly love these blunders. They’re oddly motivating, and nothing says progress like a model that’s hilariously wrong before it gets better.
Tweaking: This is where you watch your loss and accuracy metrics closely. Don’t just chase high training accuracy; real model evaluation happens on your validation set. This helps you spot overfitting—when your image classifier memorizes the training data but fails on new images. Early stopping and regular tweaks are your best friends here.
Modern frameworks like TensorFlow and AutoML make it possible to train an image classifier in minutes, but the dance remains the same. Expect your model accuracy to jump after each round of tuning. The not-so-glamorous truth? Most of the progress comes from iterating, adjusting, and learning from every stumble.
Pushing ‘Play’: Final Thoughts and What to Do With Your Classifier
So, you’ve trained your custom image classifier in just 100 lines of code—now what? This is where the real fun begins. Deploying your model opens up a world of practical applications and learning opportunities, whether you’re aiming to build a polished web app, serve predictions through an API, or simply impress your friends (or your cat) with your new tech skills.
Model deployment doesn’t have to be intimidating. You can use straightforward code to serve your image classification model as an API, or leverage no-code tools like Zapier or AutoML platforms to get your classifier out into the world. Even a simple demo—like a web page that guesses what’s in your vacation photos—can spark conversations and inspire new project ideas. Who knows, maybe teaching your model to sort your digital album will finally help you find that one beach photo you keep losing (or, let’s be honest, it might just label all your sunsets as “pizza”).
Sharing your working classifier is a great way to bridge the gap between tech and everyday life. Non-techie friends are often amazed when they see a model in action, and it’s a fantastic way to showcase the power of image classification beyond big tech companies. Personally, my first model hilariously mislabeled every lemon as a lime, but that’s part of the journey—each mistake is a lesson, and every deployment is a step forward.
Whether you’re building something useful or just having fun, don’t stop here. Keep experimenting, keep deploying, and keep learning. Your custom image classifier is more than just a project—it’s a launchpad for creativity and growth in the world of machine learning.